Restoration of a 1918 Harley Davidson Bicycle – Part 3: Plating Small Parts
Haven’t read part one yet? Check it out first!
Prior to the introduction of chrome plating in 1928, polished nickel was the plating of choice to both beautify and protect metal parts. How do you tell the difference between the two? Nickel has a very slight yellowish hue to it, where chrome has no noticeable color (although it actually has a slight blue hue). For larger parts, copper is plated to the part first. This acts as a primer, which can be buffed to a high shine, filling in tiny pits and scratches in the metals surface. Nickel is plated over the copper to give it corrosion protection and a beautiful mirror like shine. Copper isn’t always necessary though. Fasteners, brackets, badges and other small parts that don’t need to be perfect often have the nickel plated straight over the bare steel.

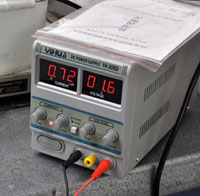
Plating power supply
Since nickle and chrome plating is so astronomically expensive these days, I like to do the plating on all the small bits myself. This can be done using a Nickel plating kit from Caswell Plating and an appropriate power supply. I chose an inexpensive bench-top power supply made for the electronics hobby. It has the ability to maintain a constant current and voltage, which is important during the plating process.
Parts must be stripped of all rust and old plating before they can be re-plated with nickel. Rust pits, scrapes, and gouges must be sanded and buffed away if you want the part to look nice when it’s done. If the part looks dull or has any imperfections, it will show in the final plating. If you can’t get the metal to where you are satisfied with it, you’ll need to plate it with copper, then buff again. As you can imagine, the labor involved can be fairly extensive.

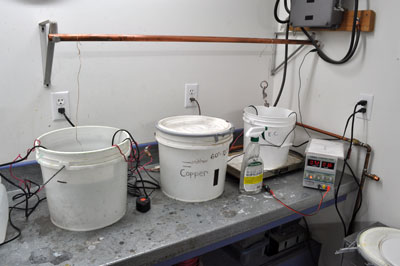
Caswell plating tanks
Some parts, actually are much more realistic to leave in a non-polished state for plating, than if they were to be super buffed and shiny. For example, axles, axle nuts, bearing cones, washers, etc. These are the types of parts that I chose to plate myself for this project. I also did the pinch bolt and nut for the seat post, and the stem bolts because they are so small and easy to do. Every little bit that I can do myself will save money. I estimate that I saved about $100.
Take a look at the photos to see what my plating setup looks like. I have my copper tank out, even though I didn’t use it this time. The tank to the far right is a cleaning agent that is brought up to about 110 degrees fahrenheit. The nickel tank is on the left. Heat is provided by stainless-steel aquarium heaters plugged into a thermostat. The copper bar over the top is where the parts are suspended to be submerged in the plating tanks. It is also a conduit for the negative terminal of the power supply. The positive terminal of the power supply is connected to the nickel anodes that are sitting in the tank. Since electricity flows from positive to negative, molecules of nickel from the anodes come off and stick to the metal parts surface, resulting in the magic of electroplating!

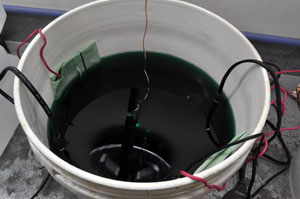
Parts in the nickel tank
The nickel requires 1 amp for every 16 square inches of surface area that you want to plate, so you have to do some really good eyeballing and guestimating to figure it out. It’s not as hard as it seems actually. If you don’t see any nickel plating to the part, or its plating too slowly, then you might need to add more juice (aka, power). I left my parts in for about 20 minutes or so. That seemed to do the trick, but I’m far from an expert at this. If you want to know a lot more about electroplating, you should visit the Caswell Plating website and forum.
In the photo to the right, you’ll see the nickel plating tank in operation, with the parts suspended on a copper wire.
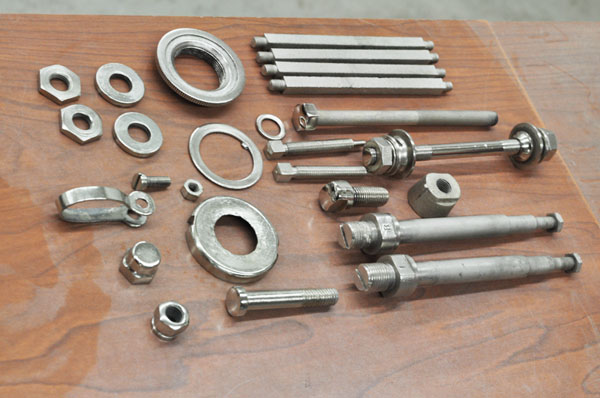
And…. the final result! Yes, I spent ALL DAY prepping and plating these tiny parts. I guess my savings weren’t all that great, as I could have been doing other things to earn more than the $100 that I theoretically saved by not taking it all to the chrome shop.
Next up in part 4: Modifying a set of handlebars to match the factory spec bars for this bike.

Nickel plated small parts
