Restoration of a 1918 Harley Davidson Bicycle – Part 4: Handlebars
Haven’t read part one yet? Check it out first!

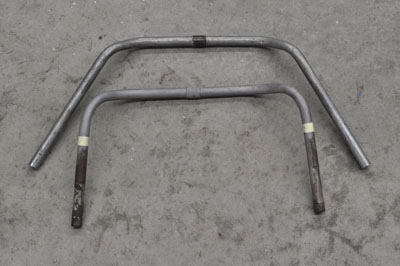
Handlebars ready to cut
The handlebars for the Harley Davidson Motorcyke, as this model is called, may look like ordinary cross-braced handlebars from that era, but they are actually a bit special and difficult to find in good condition. The cross brace is different than what is found on bicycles made by other companies and the dimensions of the bars overall is different. These bars, officially called Shelby Braced Motorbike Handlebars are a signature feature of this Harley Davidson model, so it’s not an area that I can compromise by using the more common variety. This means, finding a nice enough original set that can be re-plated, or modifying an existing similar set to match the specs of the correct handlebars. Fortunately, I had in my collection a set of bars from another Davis Sewing Machine Company built bike (they are the ones who made these bicycles for Harley Davidson). The only difference in these handlebars is how long the ends are. The Harley Davidson Motorcyke bicycle has exceptionally long bars, which gives the bicycle a look that more closely resembles the motorcycles of the time.

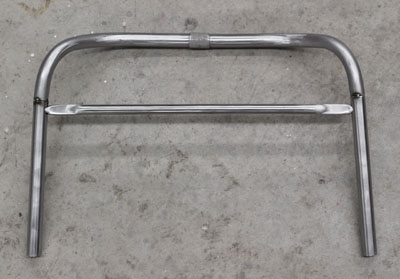
Handlebars tack welded together
I figured this was my chance to test my welding skills. I decided to modify these bars to match the specifications of the correct originals. My friend Scott McCaskey of The CABE fame (and everybody’s pal), was kind enough to measure an original set that he had so that I could make the proper modifications. I used the tubing from a common set of cruiser bars, which has tubing that matches the wall thickness of the earlier bars. I could have found new tubing for this job, but I decided to just use what I had already on-hand. I started by taping off where I wanted to cut the original bar ends (they were damaged at the cross-bar mount holes anyway), then measuring out how much of the tubing I’d need from the cruiser bars. I made the cuts on my band-saw, then drilled holes for the cross-brace in the appropriate location (from Scott’s measurements). I tack welded them together so I could check the alignment and to make sure the end pieces had a smooth flowing transition into the rest of the handlebars.

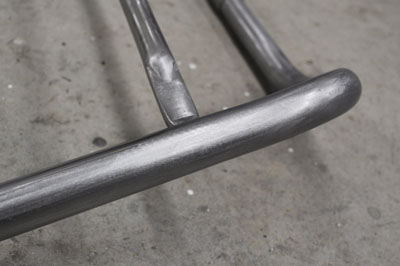
Handlebars welded and smoothed
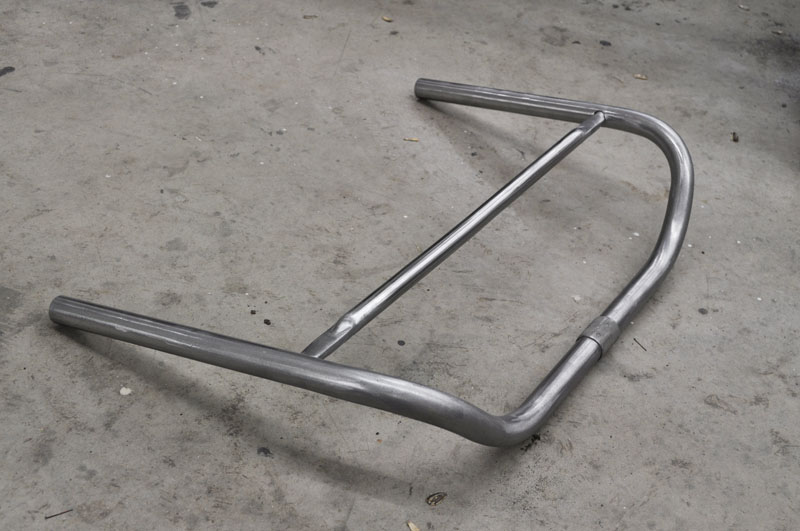
After everything looked good, I welded the pieces together solid, then used an angle-grinder to get the weld close, but not too close to where it was flush. I wanted to finish the weld with a file, so I didnt take away too much metal or create flat spots. It took quite a while to get this to look good, since I was using a MIG welder, which isn’t as precise as a TIG welder (I don’t have one, or I would have used it). It tends to leave a few pinholes, which I had to weld up and re-file several times until I got them all. Several hours of work later, and they came out pretty darn nice!
Next up in part 5, we’ll see how the nickel plating comes out on these handlebars, and the other parts when they come back from the plating shop.

Handlebars ready for nickel plate
