Restoration of a 1918 Harley Davidson Bicycle – Part 7: Wheels and Tires
Haven’t read part one yet? Check it out first!
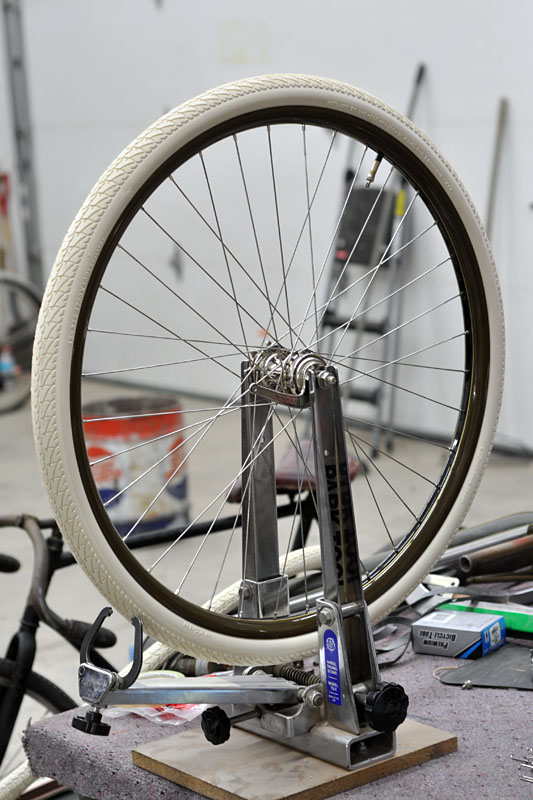
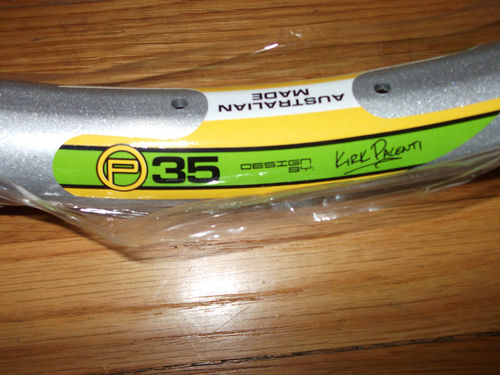
The wheels on bicycles from this era are often a big challenge. The rims were typically made of a single piece of hardwood that was bent into a hoop and finger-joined together. Worked great back in the day, but all these years later a restorable wood rim is tough to find. Not only that, tires are no longer produced to fit! Sure, you can buy a reproduction rim and tire, but the only tires that are available (from Universal Tire) are actually solid rubber and are intended for display only. The solution? New Velocity Blunt (formerly P35) rims! outside diameter (700c) is nearly the same as the original (28″), and the width is also similar. What makes these rims different from other mountain-bike rims is the profile. They are designed to be used on bikes that are equipped with disc brakes, so no brake-pad area was necessary. As a fashion statement, the rims were given a nice crescent shaped profile which happens to look just like that of the original 28″ wood rims. They are made of aluminum and take a modern clincher tire. When painted, the rims look very authentic. Now we can run modern tires and actually ride this bike!
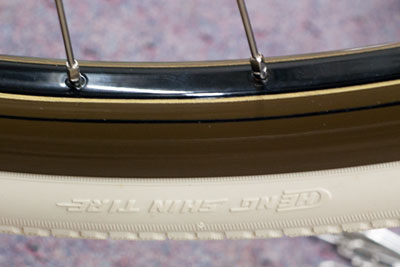
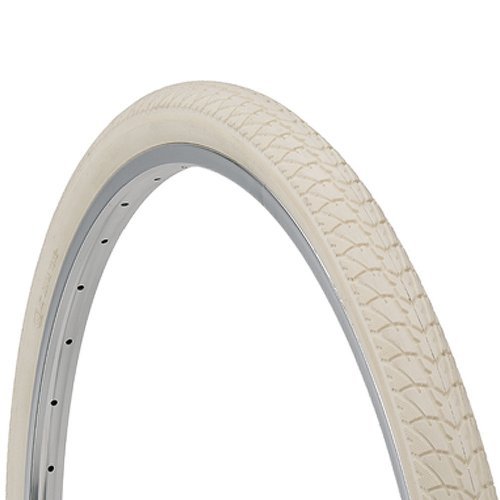
For tires, I chose cream colored Electra Amsterdam’s, which have a mild tread pattern and measure 40c in width, a close approximation of the tires that the bike would have been equipped with originally. They are actually made by Cheng Shin, are of good quality, color and there are no ugly decals on the sidewall.
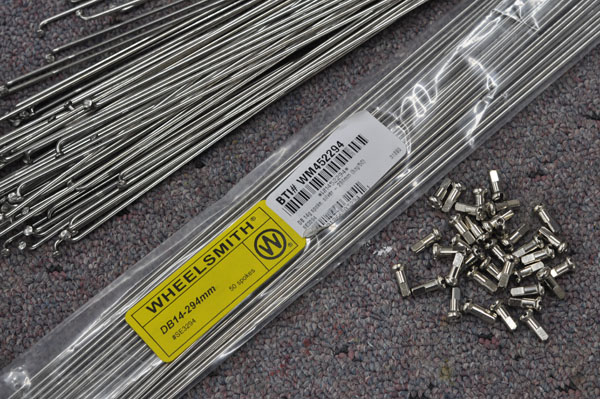
For spokes I chose 14 gauge, 294mm double-butted stainless steel spokes from Wheelsmith. The butting on them is more pronounced than what you see on other brands such as DT. They are more expensive, but they are worth it. The look is authentic to original. For spoke nipples, I used the short nipples that come with the spokes. You know the ones you’d normally never use on a vintage bicycle? But because the amount that they protrude past the hole on these aluminum rims is nearly the same as what you’d see with a long 1″ nipple through the original thick wood rims, they were a good fit.
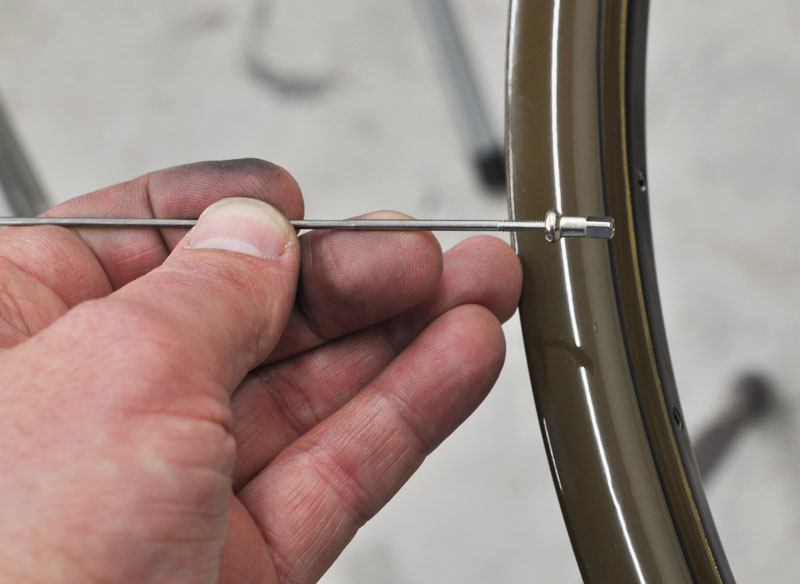
Lacing the wheels was business as usual, with the exception of having to figure out a little trick to get the nipple inserted into the rim. Normally with vintage bicycle wheels, you can just push it through the hole on the back side, but since these Velocity P35 rims are tubular, it’s really easy to lose the nipple inside the rim! Yep, it would be in there clanging around… not good. My buddy Jeff Taylor suggested that I thread the other end of the nipple onto a spoke, then use that as a handle until I could get it threaded on. Worked great!
After lacing and truing, I installed the rim strips, tubes and tires. They look great! I can’t wait to see them on the bike!
Up next in part 8, we’ll restore the pedals.