How to Repair a Damaged Fork Steer-Tube
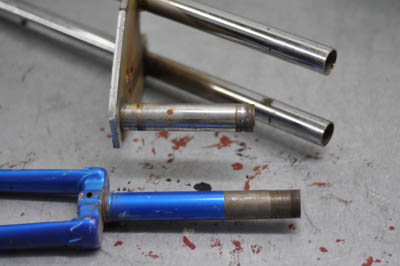 Top – The fork to be repaired with a broken steer-tube. Bottom – The donor fork with a good steer-tube.
The first thing we do is cut the top off of the donor fork. Make your cut as straight as possible… but don’t worry if you don’t get it perfect, we will need to grind on it later anyway. I used a band-saw, but you could also use a hack-saw.
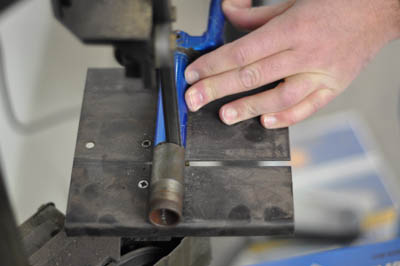 Cut the top of the steer-tube off of the donor fork.
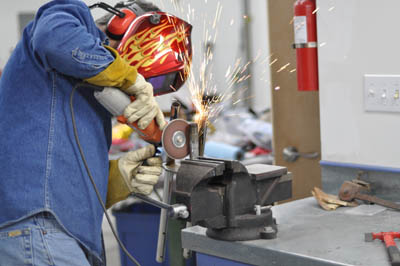
Next, use a piece of masking tape wrapped around the piece you just cut off, making both ends of the tape line up perfectly. This serves to show you how much you will need to grind from the cut-end of the tube to make it straight. I used a belt-sander but you could use a file or a grinder to do the same thing.
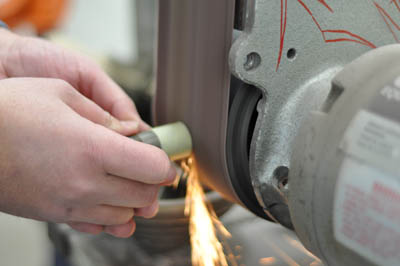 Grind the donor tube to straight and level.
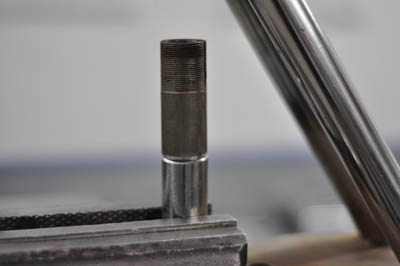
Once you have your new piece ready, hold it side-by-side with the fork to determine where you will need to cut the damaged tube. In our example I couldn’t simply hold the new piece to the original side-by-side because a piece was broken away from the top. I had to measure a steer tube that was test-fitted to the bikes frame for proper length and do the math to find out where to cut. Once you have your cut line marked, mask it with tape to help you cut it as straight as possible. We want to do a minimal of grinding here so as to not shorten it too much which would leave us with a shorter head-tube on the fork than original. If you feel more comfortable grinding up to your taped mark, then cut it a little bit on the long side to give yourself some room.
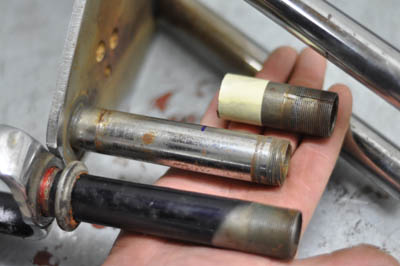 Determine where to cut your damaged tube. Top – New steer-tube end. Middle – Original damaged tube. Bottom – A Correct length-fork tube for comparison.
 Cut the damaged steer-tube end off, being careful to keep it nice and straight.
 Cutting off the damaged steer-tube end.
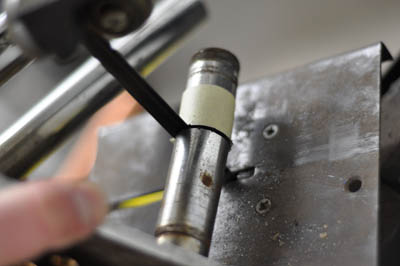
In order for the weld to penetrate completely, we need to bevel the edges of both the original fork tube and the new piece. If you don’t get the weld to penetrate fully, it can be dangerous. If the fork tube was to break while the bike was being ridden, you can imagine the consequences!
 Put a bevel on the ends of were the tubes meet to ensure good weld penetration..
Set the new piece in place to see if it sits straight. If it’s off a little, don’t worry we will fix that in a later step. If it’s off by a lot, you can grind one or both of the surfaces wherever necessary to correct it.
 The new piece set in place..
Holding it straight, I put down one tack weld… not a big weld, just a tack so that I can still adjust the other side of the tube for a perfect alignment.
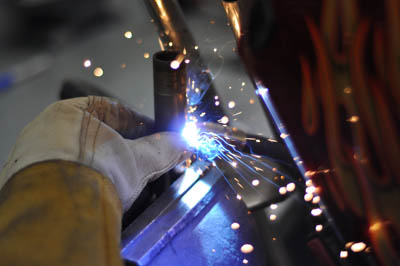 Tacking the new piece in place.
Once the tube is tacked in place, use a straight edge, checking in several different locations to make sure you have the tube on there straight and flush on all sides. You will most likely have to tap the tube lightly at one side or another to get it dialed in. Once you have it where it should be, its time to do one more tack weld. I like to tack it again on the opposite side of my first tack, then double check the alignment. If it still looks good after the second tack, go ahead and start welding it in solid.
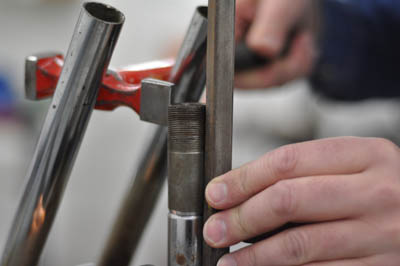 Checking the alignment..
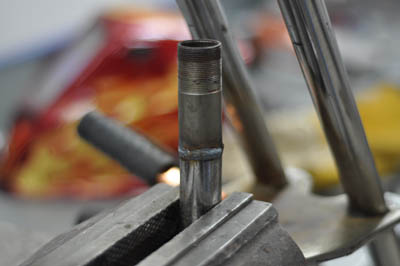 The new steer-tube piece welded to the original fork.
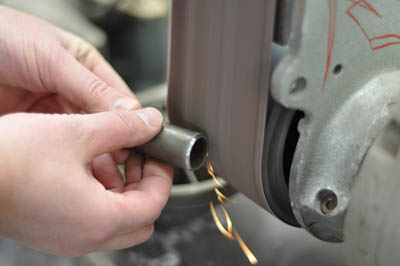
After the weld has cooled, grind it smooth and level ensuring that the lower bearing race will still fit past the weld. Your done!
 Grind it smooth.
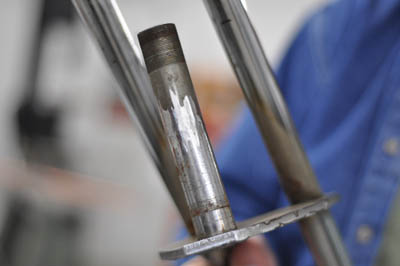 All Done!